
Installation

npm install @upliftai/syngenta-assistant-hooks
Peer Dependencies:
  • react ^18 or ^19
  • socket.io-client ^3 or ^4

Key Concepts

The package provides a hook called useChatManager. It internally manages the WebSocket connection and all state management required to create a seamless chat experience.For example, when a message is sent by the user, it is optimistically added to the message list before the server receives it. The hook automatically marks messages as accepted when the server acknowledges them, or marks them as failed if processing fails.
import { useChatManager, type ChatManager } from '@upliftai/syngenta-assistant-hooks';

export function YourComponent() {
  const chatManagerConfig: ChatManagerOptions = {
    apiBaseUrl: 'https://syngenta-express-staging-0fc8.up.railway.app', 
    assistantId: 'demo-text-voice',
    authToken: 'your-auth-token',
    userId: 'user-123',
    threadId: 'thread-123'
  }

  const chat: ChatManager = useChatManager(chatManagerConfig)

  useEffect(() => {
    chat.loadHistory()
    chat.connect()
  }, [chat.connect, chat.loadHistory])

  console.log(chat.connectionState)  // "connecting" | "connected" | "disconnected"
  console.log(chat.isLoadingHistory) // boolean
  console.log(chat.messages)         // ChatMessage[]
  console.log(chat.isBotTyping)      // boolean

  // ...
}
The hook uses two key identifiers:
  • userId: A unique identifier for the end user. This should be consistent across sessions for the same user.
  • threadId: A unique identifier for a conversation thread. Use the same threadId to continue an existing conversation, or generate a new one to start a fresh conversation.
const config: ChatManagerOptions = {
  // ...
  userId: 'user-123',           // Identifies the user
  threadId: 'thread-abc-456',   // Identifies the conversation
}
Generate a new threadId (e.g., using crypto.randomUUID()) each time you want to start a new conversation with a clean history.
The assistantId specifies which assistant configuration to use. Different assistant IDs may have different prompts, behaviors, or capabilities configured on the server.Currently you shoudl use demo-text-voice
const config: ChatManagerOptions = {
  // ...
  assistantId: 'demo-text-voice',  // The assistant configuration to use
}
The hook provides two separate methods for initialization:
  • loadHistory(): Fetches previous messages for the thread via REST API. Call this to restore conversation history.
  • connect(): Establishes the WebSocket connection for real-time messaging.
useEffect(() => {
  // Load existing messages first
  chat.loadHistory()

  // Then establish WebSocket connection
  chat.connect()

  // Cleanup on unmount (handled automatically by the hook)
}, [chat.connect, chat.loadHistory])

console.log(chat.isLoadingHistory) // boolean
You can call loadHistory() and connect() in parallel. The hook handles the state correctly regardless of which completes first. However, the user experience will be better if you let loadHistory() complete before allowing user to new send message. You can check if loadHistory is complete by checking chat.isLoadingHistory.
Automatic Cleanup: The hook automatically disconnects the WebSocket connection when the component unmounts. You do not need to call disconnect() in a cleanup effect—it’s handled internally.

Message Ordering

The messages array is sorted in reverse chronological order (newest first). The most recent message is at index 0. This ordering is optimized for use with React Native’s FlatList with the inverted prop, which is the standard pattern for chat UIs.
// messages[0] = newest message
// messages[messages.length - 1] = oldest message

<FlatList
  data={chat.messages}
  inverted  // Renders from bottom, newest messages appear at bottom
  // ...
/>

Message Structure

Each message in the messages array has the following structure:
interface ChatMessage {
  id: string;                    // Unique message identifier
  role: 'user' | 'assistant';    // Who sent the message
  timestampUnixMs: number;       // Unix timestamp in milliseconds
  content: ChatMessageContent;   // The message content
  optimistic?: boolean;          // True if awaiting server acknowledgment
  failed?: boolean;              // True if message processing failed
}

Content Types

Messages support three content types:
{
  type: 'text';
  text: string;
}

Optimistic Updates

When you send a message, it’s immediately added to messages with optimistic: true. This provides instant feedback to the user.
optimisticfailedMeaning
truefalseMessage sent, awaiting server acknowledgment
falsefalseServer received the message
true or falsetrueServer failed to process the message
// Example: Rendering message states
function MessageBubble({ message }: { message: ChatMessage }) {
  return (
    <View>
      <Text>{message.content.type === 'text' && message.content.text}</Text>
      {message.optimistic && !message.failed && <Text>Sending...</Text>}
      {message.failed && <Text>Failed to process the message</Text>}
    </View>
  )
}
For efficiecy and reliability, media messages are sent in two parts.First, we upload the media (image or audio) to the server and get back a mediaId string. Then we send a websocket message to the server containing just the mediaId.The hook automatically handles this for you, but it is still important that you understand this.Here is what happens when u call sendImageMessage() or sendAudioMessage().
  1. Optimistic Display: The message immediately appears in the message list using the local file URI
  2. Background Upload: The file is uploaded via REST API to /api/media
  3. WebSocket Message: Once uploaded, the message is sent via WebSocket with the server media ID
Media messages (images and audio) need their URLs constructed before display. The getMediaUrl() helper handles this for you.

Images

For image messages, pass 'media' as the source type:
import { getMediaUrl } from '@upliftai/syngenta-assistant-hooks';

function ImageMessage({ content, apiBaseUrl }) {
  const imageUrl = getMediaUrl(apiBaseUrl, 'media', content.imageId, undefined);
  return <Image source={{ uri: imageUrl }} />
}

Audio

Audio messages include a source field that tells you how to construct the URL:
function AudioMessage({ content, apiBaseUrl }) {
  const audioUrl = getMediaUrl(
    apiBaseUrl,
    content.source,
    content.audioId,
    content.expiringUrl
  );
  return <Audio source={{ uri: audioUrl }} />
}

How getMediaUrl Works

The helper constructs different URLs based on the source parameter:
SourceWhat It ReturnsWhen It’s Used
'media'{apiBaseUrl}/api/media/{mediaId}User-uploaded images and audio
'mediastream'{apiBaseUrl}/api/mediastream/get?...AI-generated audio responses
'url'Returns mediaId as-isWhen the ID is already a complete URL
Optimistic messages handled automatically: If the mediaId contains :// (like file:///path/to/image.jpg), getMediaUrl returns it unchanged. This means you can use the same code for both optimistic local files and server-confirmed media.

Sending Messages

// Send a simple text message
chat.sendTextMessage('Hello, how can you help me today?')
The message is optimistically added and sent via WebSocket. Empty strings are ignored.

Types

interface ChatManager {
  // Thread History
  loadHistory: () => Promise<void>;
  isLoadingHistory: boolean;
  
  // Connection state and control
  connect: () => void;
  disconnect: () => void;
  connectionState: ChatConnectionState;
  connectionError: string | null;

  // Messages
  messages: ChatMessage[];

  // Bot State
  isBotTyping: boolean;

  // Send actions
  sendTextMessage: (text: string) => void;
  sendImageMessage: (imageUri: string, caption?: string) => void;
  sendAudioMessage: (audioUri: string) => void;
}

Complete Example

This example shows a minimal chat screen with text and voice messages, connection status, and optimistic updates.
Chat example
import React, { useEffect, useMemo, useState, useRef } from 'react';
import { View, Text, TextInput, FlatList, Pressable, ActivityIndicator } from 'react-native';
import { Audio } from 'expo-av';
import { useChatManager, ChatManagerOptions } from '@upliftai/syngenta-assistant-hooks';
import { MessageBubble } from './MessageBubble';
import { styles } from './styles';

const API_BASE_URL = 'https://syngenta-express-staging-0fc8.up.railway.app';

export default function ChatScreen() {
  const [inputText, setInputText] = useState('');
  const [isRecording, setIsRecording] = useState(false);
  const recordingRef = useRef<Audio.Recording | null>(null);

  // In production, get these from your auth system and navigation params
  const config: ChatManagerOptions = useMemo(() => ({
    apiBaseUrl: API_BASE_URL,
    assistantId: 'demo-text-voice',
    authToken: 'your-auth-token',
    userId: 'user-123',
    threadId: Math.random().toString(), // new thread on each component mount.
  }), []);

  const chat = useChatManager(config);

  useEffect(() => {
    chat.loadHistory();
    chat.connect();
  }, [chat.loadHistory, chat.connect]);

  const handleSend = () => {
    if (inputText.trim()) {
      chat.sendTextMessage(inputText);
      setInputText('');
    }
  };

  const startRecording = async () => {
    try {
      // Request permissions
      const { granted } = await Audio.requestPermissionsAsync();
      if (!granted) return;

      // Configure audio mode for recording
      await Audio.setAudioModeAsync({
        allowsRecordingIOS: true,
        playsInSilentModeIOS: true,
      });

      // Start recording
      const { recording } = await Audio.Recording.createAsync(
        Audio.RecordingOptionsPresets.HIGH_QUALITY
      );
      recordingRef.current = recording;
      setIsRecording(true);
    } catch (error) {
      console.error('Failed to start recording:', error);
    }
  };

  const stopRecording = async () => {
    if (!recordingRef.current) return;

    try {
      await recordingRef.current.stopAndUnloadAsync();
      const uri = recordingRef.current.getURI();
      recordingRef.current = null;
      setIsRecording(false);

      // Reset audio mode for playback
      await Audio.setAudioModeAsync({
        allowsRecordingIOS: false,
      });

      // Send the voice message
      if (uri) {
        chat.sendAudioMessage(uri);
      }
    } catch (error) {
      console.error('Failed to stop recording:', error);
    }
  };

  return (
    <View style={styles.container}>
      {chat.connectionState !== 'connected' && (
        <Text style={styles.statusBar}>
          {chat.connectionState === 'connecting' ? 'Connecting...' : 'Disconnected'}
        </Text>
      )}

      {chat.isLoadingHistory && <ActivityIndicator />}

      <FlatList
        data={chat.messages}
        renderItem={({ item }) => <MessageBubble message={item} />}
        keyExtractor={(item) => item.id}
        inverted
        style={styles.messageList}
      />

      {chat.isBotTyping && <Text style={styles.typingText}>Assistant is typing...</Text>}

      <View style={styles.inputRow}>
        <TextInput
          style={styles.input}
          value={inputText}
          onChangeText={setInputText}
          placeholder="Type a message..."
          onSubmitEditing={handleSend}
        />
        <Pressable
          onPressIn={startRecording}
          onPressOut={stopRecording}
          style={[styles.micButton, isRecording && styles.micButtonRecording]}
        >
          <Text style={styles.micButtonText}>{isRecording ? '🎙️' : '🎤'}</Text>
        </Pressable>
        <Pressable onPress={handleSend}>
          <Text style={styles.sendButton}>Send</Text>
        </Pressable>
      </View>
    </View>
  );
}
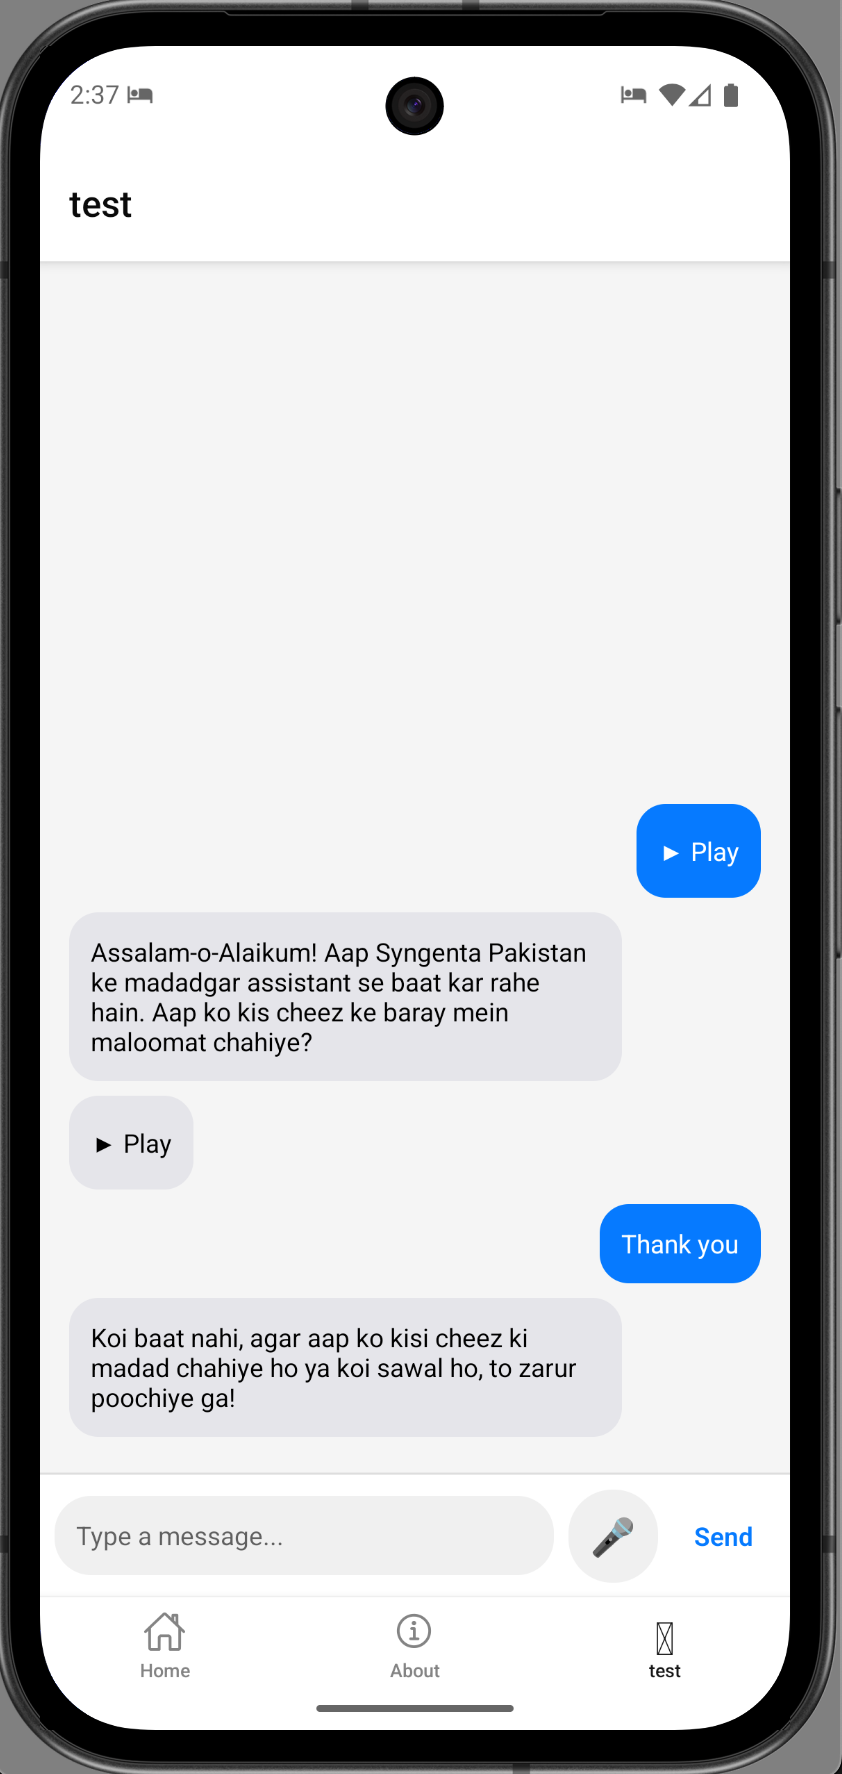
This example is simplified for clarity. In a production app you would:
  • Get authToken and userId from your authentication system
  • Generate a new threadId (e.g., crypto.randomUUID()) when starting a new conversation, or pass an existing one to continue a conversation
  • Add image message rendering and a more polished audio player with progress/duration